|
Burning an audio CD from WAV/MP3/OGG/WMA files |
|
|
Burning an audio CD from WAV/MP3/OGG/WMA files |
|
To burn an audio CD from existing WAV/MP3/OGG/WMA files:
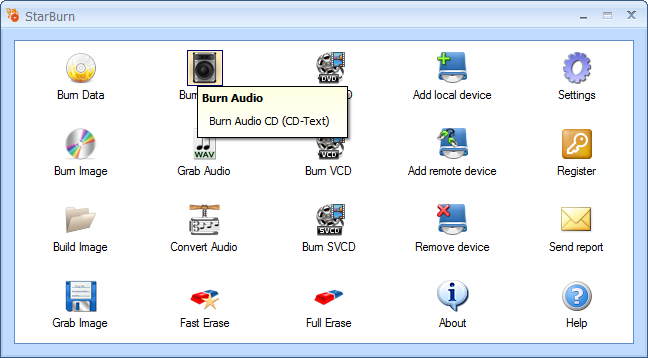
1. Click the Burn Audio icon.
2. If you haven't yet inserted a disc into the drive, please do that, and click Refresh.
3. In the Audio Burner Wizard, select a burner from the list (select the one you have inserted disc in).
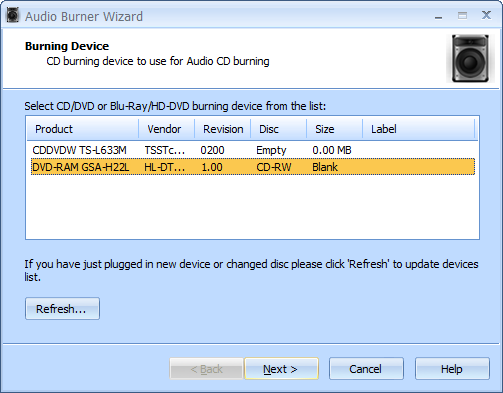
4. Click Next to continue.
5. Use the Add File(s), Remove and Remove All buttons to create a list of files you need to burn.
You can do the same with drag-and-drop.
Note: The supported file types are PCM, 44100Hz, 16-bit, stereo (wav), MPEG1 Layer 3 (mp3), Windows Media Audio (wma), OGG Vorbis (ogg), etc.
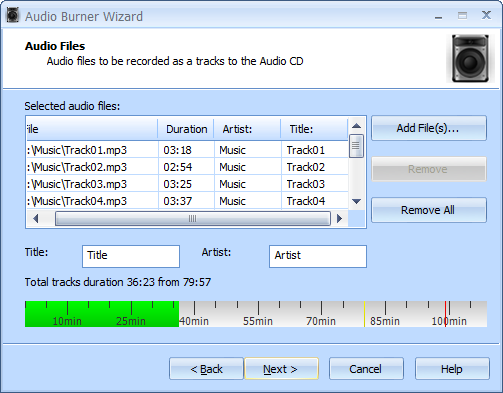
6. Click Next to continue.
7. From the Burning mode list, choose the one you need. The default mode is Disc-At-Once raw P-W that writes CD-Text information (Artist and Title) for every track. The other available burning modes are: Disc-At-Once PQ, Session-At-Once and Track-At-Once.
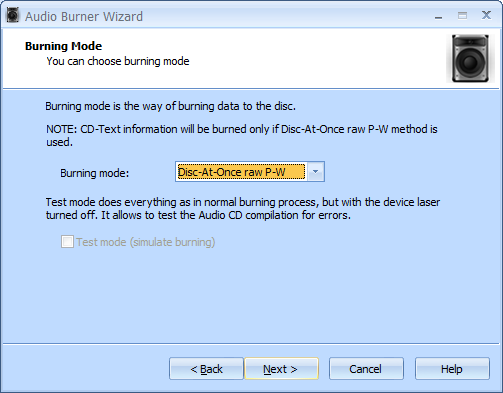
8. Click Next to continue.
9. If needed, select the Send optimum power calibration (OPC) checkbox to provide higher quality burning.
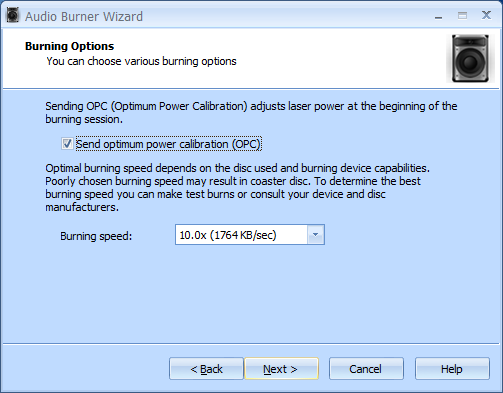
10. Click Next to continue.
11. In the Options Summary screen, review the summary of the selected and specified options. Click Back to make changes if required.
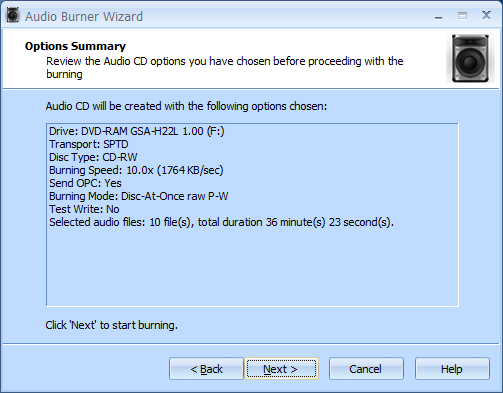
12. Click Next to start burning.
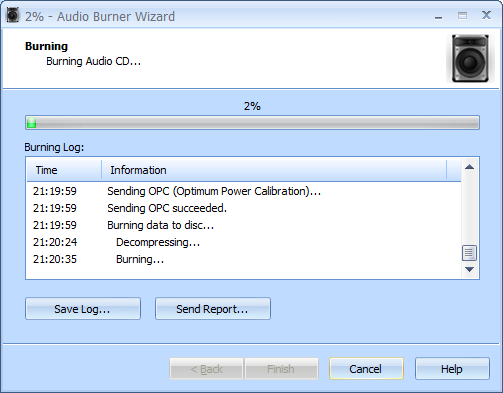
13. When burning is completed, you can save the log if needed.
Note: Click Save Log to save the current operation log. If there are any burning problems, use the Send Report options to send a failed operation log to the support team.
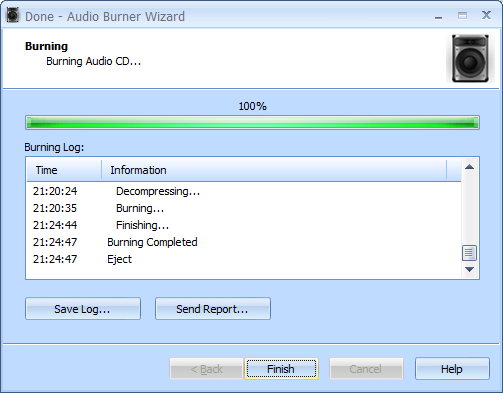
14. Click Finish.