|
Image Burner Wizard |
|
|
Image Burner Wizard |
|
To burn an image file:
1. Insert a disc into the drive, if you have not done it yet. Click Refresh. Select a burner from the list (the one you have inserted disc in).

2. Click Next to continue.
3. Specify an image file to burn.
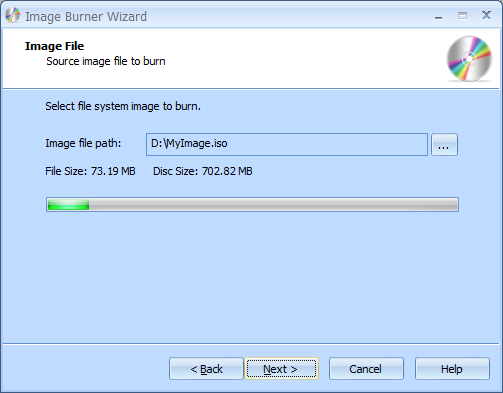
4. Click Next to continue.
5. Select a burning mode and if needed enable Test mode and/or the Verify written data option.
Note: Test mode performs all steps of burning with a low-power laser without actually writing data. Therefore, it allows for error checking and prevents damage of a media.
The Verify written data option ensures that data has been written properly. It launches verification process right after disc burning.
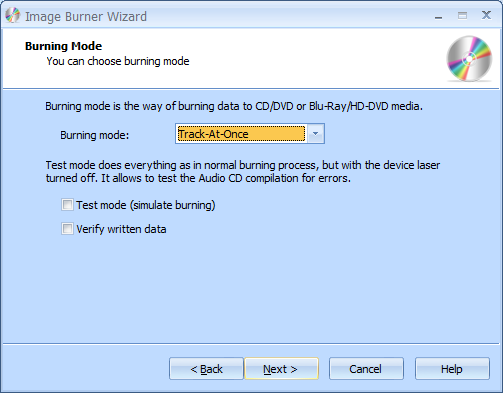
6. Click Next to continue.
7. If needed, select the Send optimum power calibration (OPC) checkbox to provide higher quality burning.
Specify the desired speed from the list of supported burning speeds.
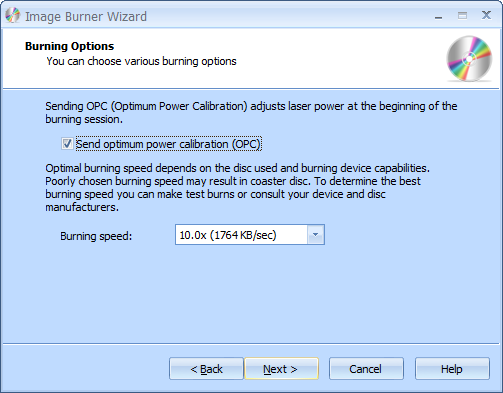
8. Click Next to continue.
9. Review the Options Summary page and make sure all options are correct. Click Back to make any changes on previous pages.
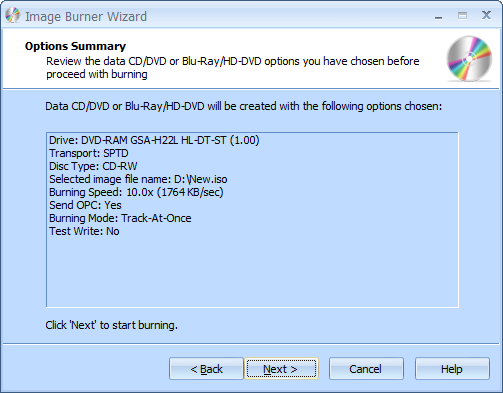
10. Click Next to continue.
11. Wait until burning is completed.

12. When burning is completed, you can save the log if needed.
Note: Click Save Log to save the current operation log. If there are any burning problems, use the Send Report options to send a failed operation log to the support team.
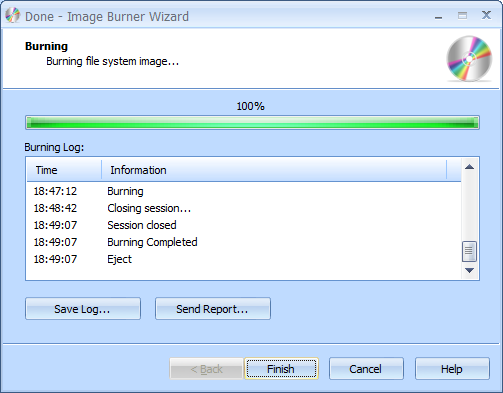
13. Click Finish to exit the wizard.